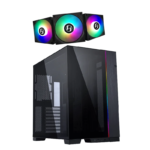
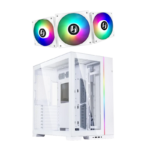
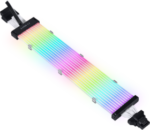
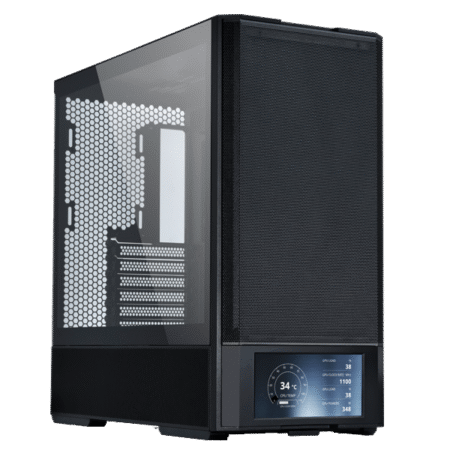
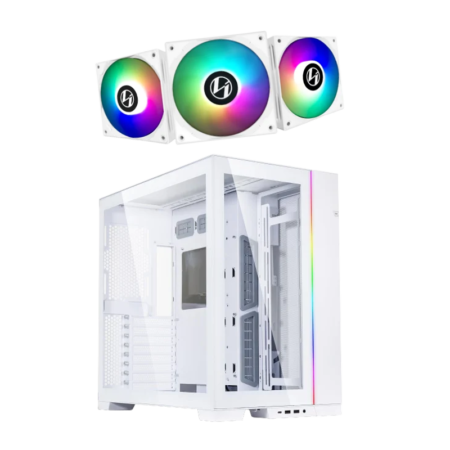
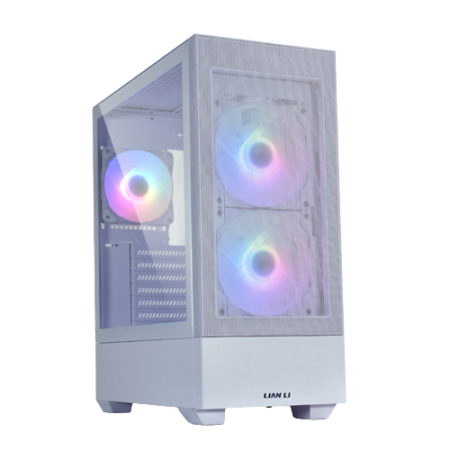
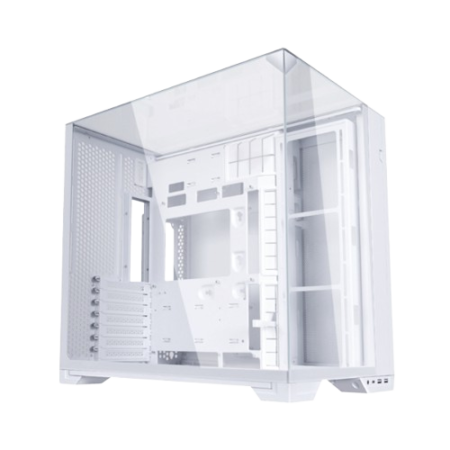
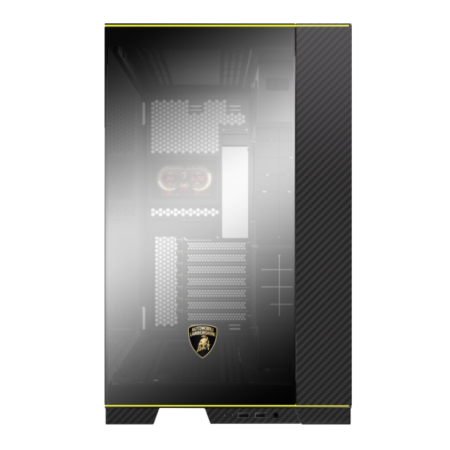
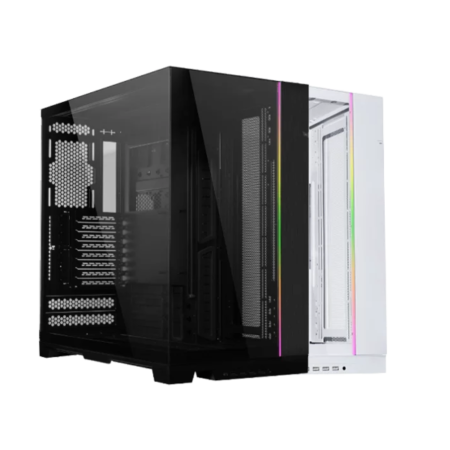
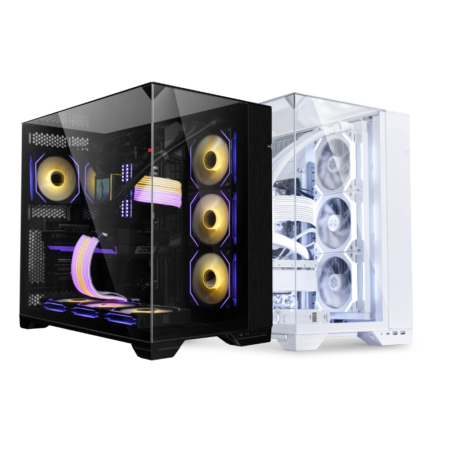
“O11 Dynamic EVO & ST120 KIT”Black Lian Li Bundle
Original price was: 11,300 EGP.9,999 EGPCurrent price is: 9,999 EGP.
1 in stock
– Lian Li O11 Dynamic EVO Mid Tower Gaming Case
– Lian Li ST120 FAN Triple Pack Black
Here’s a detailed guide for installing components in the O11 Dynamic EVO:
Step-by-Step Installation Guide O11 Dynamic EVO
- Preparing the Case: O11 Dynamic EVO
- Remove Panels: Start by removing the front, side, and top tempered glass panels. Unscrew the screws at the back and gently lift the panels off.
- Remove Brackets and Cages: Take out the hard drive cage and any brackets that might obstruct your build.
- Motherboard Installation: O11 Dynamic EVO
- Install Standoffs: Place the standoffs in the appropriate holes for your motherboard size (ATX, Micro-ATX, or Mini-ITX).
- Mount the Motherboard: Align the motherboard with the standoffs and secure it with screws.
- CPU and Cooler Installation: O11 Dynamic EVO
- Install the CPU: Place the CPU into the socket on the motherboard and secure it.
- Attach the Cooler: Follow the cooler’s instructions to mount it onto the CPU. Ensure it is securely fastened.
- Memory and Storage Installation:
- Install RAM: Insert the RAM sticks into the appropriate slots on the motherboard.
- Mount SSDs/HDDs: Use the provided brackets to mount SSDs or HDDs in the designated areas.
- Power Supply Installation:
- Mount the PSU: Place the power supply in the bottom compartment and secure it with screws.
- Connect Cables: Route the power cables through the grommets to the appropriate components.
- Graphics Card Installation:
- Install the GPU: Insert the graphics card into the PCIe slot on the motherboard. Secure it with screws. O11 Dynamic EVO
- Optional Vertical Mount: If using the vertical GPU kit, follow the instructions to mount the GPU vertically.
- Cooling System Installation:
- Install Radiators/Fans: Mount up to 3x 360mm radiators or up to 10 fans in the designated areas for optimal cooling.
- Connect Fans: Connect the fans to the motherboard or a fan controller.
- Cable Management:
- Organize Cables: Use the dual-chamber layout and cable management compartment to neatly route and secure cables.
- Attach Panels: Reattach the front, side, and top panels once all components are installed and cables are managed.
- Final Steps:
- Check Connections: Ensure all connections are secure and components are properly seated.
- Power On: Connect the power supply to an outlet and power on the system to check for proper operation.
For a visual guide, you can refer to the step-by-step PC build video by Christopher Flannigan1.
If you have any specific questions or need further assistance, feel free to ask!

